Unit 4 - Water Plan
Complete Activity 14
Next level prep: Complete all 4 activities!
What You Will Need:
Your TOOL KIT - (Download here)
ACTIVITY 14: LEARN HOW TO STORE WATER


Goal: Learn how much water you’ll need and how to store it.
STEP 1: DETERMINE HOW MUCH WATER YOU’LL NEED
This is a great time to refer to your journal from Activity 1 to see how much water you and those in your household (including pets) consumed over two weeks. Consider practicing using only stored jugs of water for a few days to see how much water is used.
Each person needs roughly 1 gallon of water per day for 14 days for drinking, meal prep, cleanup, and personal hygiene.
For perspective: during normal times, each person uses 80–100 gallons per day for home uses (toilet flushing, bathing, cleaning), showing how precious water is in emergencies.
Individual needs vary based on age, activity level, health, diet, and climate.
Water requirements depend on the types of food you plan to eat (pasta, oatmeal, baby formula, powdered milk, etc.) for two weeks without running water.
Medical emergencies may require additional water.
Each pet also needs about 1 gallon per day.
A WORD OF CAUTION
While they are fluids, soft drinks, caffeinated beverages like coffee and tea, and alcohol should not be substituted for water in your calculation of water needs. These fluids will dehydrate the body and increase the need for more drinking water.
STEP 2: SANITIZE WATER CONTAINERS
All containers used for storing water must be sanitized before adding potable water.
Wash containers and lids inside and out with dish soap to remove any dirt and debris.
Rinse thoroughly with clean water.
Add 1 teaspoon of unscented, household liquid chlorine bleach to 1 quart of water (1 quart = 4 cups or 32 ounces or 1 liter).
Pour the bleach mixture into a clean storage container. Close it tightly and shake it well to make sure the solution coats the entire inside of the container.
Let the container sit for at least 30 seconds, then pour out the solution.
Let the container air dry or rinse it with clean, purified water.
Fill it to the top with clean water and seal it tightly. Be careful not to contaminate the cap by touching the inside of it with your fingers.
Label it with the words “Drinking Water” and the date it was stored.
Rotate water every six months to keep it fresh.
STEP 3: PREPARE WATER FOR STORAGE
All containers used for storing water must be sanitized before adding potable water.
Boiling is the safest method of treating water. Bring the water to a full, rolling boil for a minimum of one (1) minute or three (3) minutes for elevations above 6,500 feet. Let cool.
To purify, use a medicine dropper to add unscented, household liquid chlorine bleach. Use new chlorine bleach, because it loses its strength over time.
BLEACH AMOUNTS
Two drops of unscented 5 to 6% sodium hypochlorite bleach per 1 quart of water.
Eight drops or 1/8 teaspoon of concentrated 8.25% sodium hypochlorite bleach per 1 gallon of water.
Put the lid on and shake the mixture well. After adding bleach, you must let it stand for at least 30 minutes before using it.
Store the purified water in clean, sanitized containers with tight lids.
STEP 4: LABEL IT AND DATE IT
Once your containers are filled with clean, sanitized water and are tightly sealed, label them with the words “Drinking Water” and the date.
If you use larger containers for long-term water storage, be sure to use the proper bleach ratios to ensure the water is sanitized. Check OSU Extension’s guidance for bleach ratios to be used for large containers of 5 gallons and greater.
People can mark or decorate water containers designated for them. This can be a fun activity for kids!
STEP 5: STORE IT
Carefully storing your water supply is important.
Water is very heavy (over 8 pounds per gallon), and the people you live with may struggle to safely carry it, lift it and pull it from overhead storage areas.
Store heavy water containers down low.
Avoid storing directly on concrete.
Consider if it will be too heavy to transport if you must evacuate.
Storing the water needed for two weeks may be unfeasible, particularly for those with limited storage space or for those on a limited budget. It’s important to store what you can and learn how to “find” water in and around your place and “make” water that’s safe to use when regular water supplies may be temporarily unavailable.
STORING CONDITIONS
Store water where everyone in the household can access it.
Store water in a dark, dry, consistently cool space that stays at a relatively constant temperature (50-70°F or 10-21°C).
Do not store water in direct sunlight.
Do not store water near chemicals, fuel, pesticides, herbicides or products with strong odors that can be absorbed by the storage container and transferred to the water.
If possible, store parts of your water supply throughout your living space. If a disaster damages part of your living space, you can still access other parts of your supply.
STORE SOME WATER IN YOUR FREEZER
Store some water in a freezer, which is most efficient when it’s full. Fill empty spaces with food-grade plastic or metal containers of water. Let the water freeze, then cap the container. Doing this:
Increases the freezer’s efficiency.
Creates jugs of ice that can be used in a cooler when transporting food or camping.
Helps keep the freezer cold as long as possible in the event of the loss of power.
Provides safe drinking water as it melts.
STEP 6: ROTATE IT
Untreated water should be rotated every 6 months.
Water stored longer won’t be as fresh, but can always be treated before use.
Water Preserver will extend your rotation cycle to 5 years.
Use water that’s rotated out to water plants, rather than dumping it down the drain.
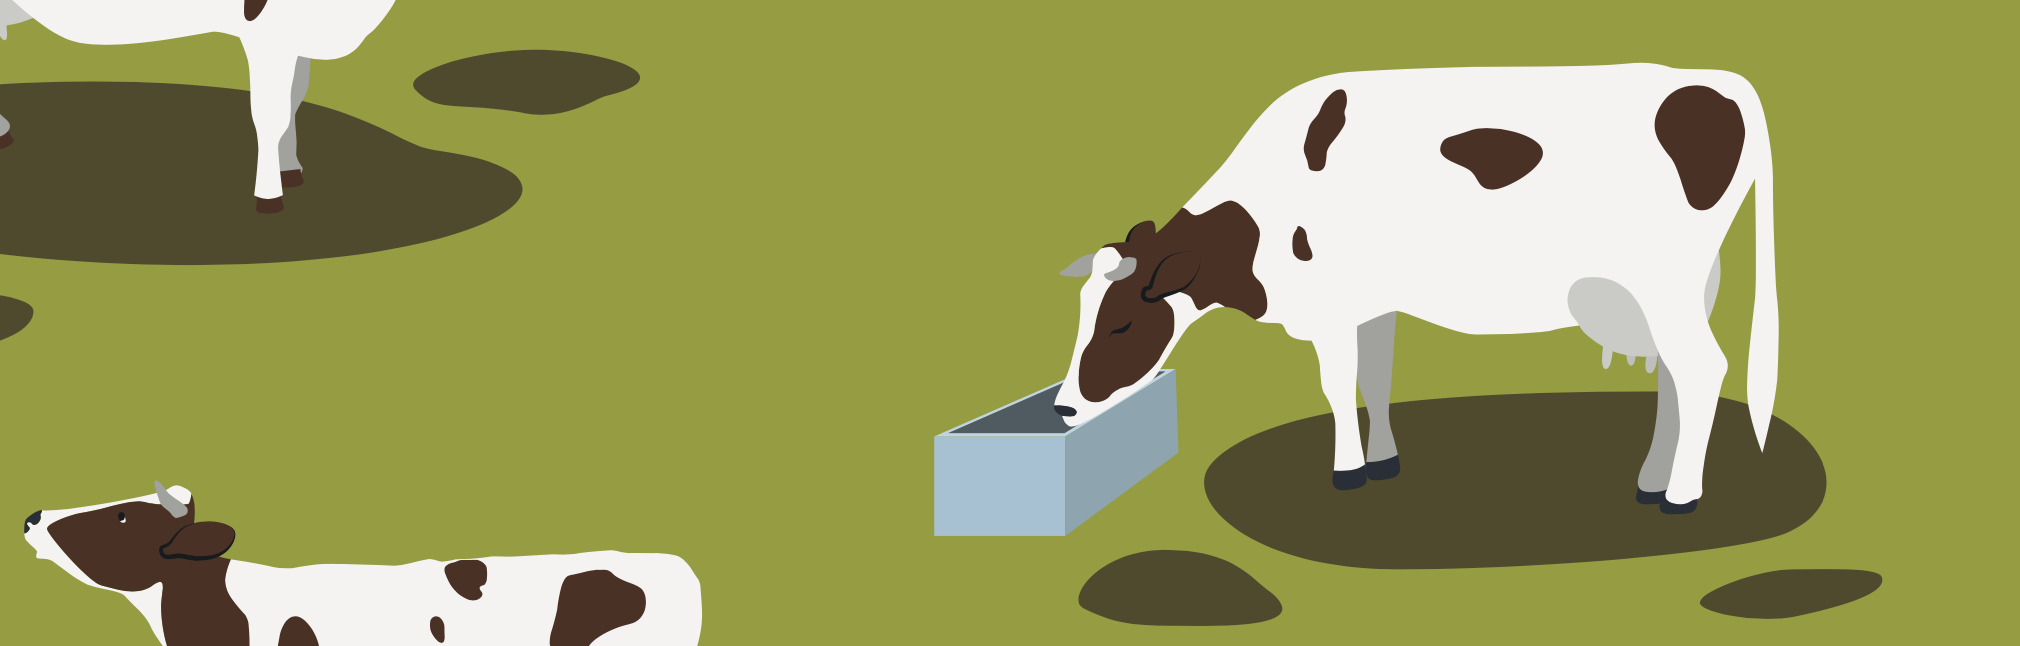
WATER FOR LIVESTOCK
Livestock and other farm animals can be negatively impacted during disasters.
Reductions in water supply can lead to poor livestock performance and range damage from overuse or underuse.
Locating additional sources of stock water is critical to protect animals and range resources.
Farmers and ranchers are affected by many variables that influence available water supplies.
Oregon State University (OSU) Extension Service and Washington State University (WSU) Extension Service, along with local farm service agencies, provide guidance, tools, and resources on water supply and other agricultural topics.
Find your local OSU Extension office: https://extension.oregonstate.edu/
Find your local WSU Extension office: https://extension.wsu.edu
CREATIVE PLACES TO STORE WATER
Under beds and sinks
Behind a sofa
In cabinets and in closets (beneath or behind clothing)
Behind books
In garages and storage sheds
In boxes that can be stacked and covered with a cloth and used as a table or TV stand
Under car seats
2 WEEKS OF WATER IS THE GOAL
1 gallon of water per day, per person, assumes about 1/2 gallon for drinking and 1/4 gallon each for cooking and hygiene.
Even if storage space is limited, storing water for at least three days is critical. You should work toward storing 14 days’ worth of water per person and animal.
WHAT KIND OF CONTAINERS?
If large water containers (≈7 gallons) aren’t available, 2-liter soft drink bottles can be used. Do not reuse milk containers.
Each 2-liter soda bottle holds about ½ gallon of water.
They are cost-effective, readily available, sturdy, and small enough to store in tight spaces.
TREATING WATER TO MAKE IT SAFE
Water from municipal water sources is already treated to be safe, so no additional treatment is necessary. Fill the clean, sanitized food-grade container with tap water, close it securely and label it with the words “Drinking Water” and the date.
Water from a well or spring, which is known to be pathogen-free but not chemically treated, should be purified by boiling or by adding unscented, household liquid chlorine bleach (see Step 2: Sanitize Water Containers).
ACTIVITY 15: LEARN HOW TO BOIL WATER BY USING COMMON METHODS
Goal: Know how to boil water to make it safe to drink.
Boiling water is a highly effective way to make it safe to drink. Boiling water may seem like a basic task, but it could be much harder when a disaster occurs and you’re without indoor electricity or natural gas. Boiling water requires very little equipment and can be done rather quickly. After a disaster, all water for drinking, food preparation and hygiene must be boiled if it’s not sealed, store-bought or already pre-treated.
This activity will help you practice how to boil water by using common methods, such as using a camp stove, BBQ grill, propane-fired outdoor gas grill or campfire. Boiling
water means heat will be involved, so extra caution should be given to handling hot cookware and being near an open fire. Use kitchen hot pads, a thermal oven mitt or layered towels for handling hot cookware.
STEP 1: GATHER NECESSARY MATERIALS
This activity uses already sanitized storage containers. (See Activity 14 for how to sanitize containers.) You’ll need:
A cooking source (camp stove, BBQ grill, propane gas grill, chiminea or campfire pit).
A medium or large-sized pot that can be placed directly on a heat source.
A cooking grill grate for cooking on open fires.
Fuel (wood, propane, charcoal briquettes, lighter, matches).
Kitchen hot pads, thermal oven mitts, kitchen towels or rags.
Fire Extinguisher (just in case…)
STEP 2: SET-UP AND ACTIVATE HEAT SOURCE
Important safety steps regarding open fires:
Only build open fires outdoors and away from structures, trees, dry grass and shrubbery.
Avoid open fires (such as a fire pit) if it’s dry, hot or windy.
Use rocks to build a fire ring to contain open fires.
Stack available wood, first using tiny pieces (kindling), then adding larger pieces.
Ignite the kindling to start the fire.
If you don’t have a grill grate, use a flat rock set on the edge of the fire ring and place your pot on top.
Avoid set-up in areas where there is heavy foot traffic and especially where children play.
Important safety steps regarding camp stoves, BBQ grills and propane grills:
Always ensure your equipment is away from structures, trees, dry grass and shrubbery.
Ensure all connections are secure for propane-fueled stoves and grills.
Ensure BBQ and hibachi grills are on level ground and away from heavy foot traffic and especially areas where children play.
STEP 3: BRING AND KEEP WATER BOILING
This activity uses already sanitized storage containers. (See Activity 14 for how to sanitize containers.) You’ll need:
Place the pot of water over the heat source.
Use kitchen hot pads, a thermal oven mitt, kitchen towels or rags to touch handles.
Bring the water to a rolling boil for at least one minute; for elevations above 6,500 feet, boil for at least three minutes.
TIP: If you’re unsure of your elevation, there’s no danger in boiling for longer than three minutes. When in doubt, wait it out.
STEP 4: COOL AND STORE PURIFIED WATER
Carefully remove the pot from the heat and terminate the heat source.
Place the pot of water on a steady surface and allow it to cool completely before it can be stored. (See Activity 14 for storing water.)
Distribute purified water into sanitized storage containers. Because boiling removes oxygen from water, it can taste flat. Pour it back and forth between two sanitized containers to replace oxygen before sealing.
ACTIVITY 16: FINDING OTHER WATER SOURCES (AFTER DISASTER STRIKES)
Goal: So, you’d rather scavenge water...
If the water you’ve sanitized and stored is not enough, you may need to find alternate water sources that are safe to drink. Fortunately, there are several sources you can use in and around your place, assuming you can access them.
Emergency Inside Water Sources
If authorities warn that public water is unsafe, or if there are signs of broken water lines, shut off the water lines entering your place. This prevents unclean water from entering your water system and contaminating the usable water.
Plug your bathtub and sink drains and fill them with water if you can. (This water will need to be sanitized to ensure safe use. See Activity 14.)
Water from the toilet tank (not the bowl) is usable after purification IF a chemical hasn’t been used to keep the bowl clean, such as those that turn the water blue.
Melt ice cubes in trays and freezer-stored jugs of water.
Liquid from canned fruit and vegetables can be consumed; liquid in cans of vegetables may be salty, however.
Pipes and water heaters hold water. Use every drop at each faucet wisely. Water drains downward, so obtain that last drop from the lowest faucet.
Getting Water From Pipes
Step 1: Turn off your water supply at the street to keep sewage from backing up into your water system. Before accessing any water from your pipes, make sure your water source hasn’t been contaminated. Then, locate and shut off your main water valve. In a single-family home, this valve is typically located in the basement, garage or crawl space.
Step 2: Let air into your plumbing system by locating and turning on a faucet located at the highest point in your place. If you live in a one-story home, the highest faucet may be your shower head.
Step 3: Use a faucet located at the lowest point in your place as your water source, shutting it on and off as needed. If you live in a one-story home, the lowest faucet may be a hose spigot or your water heater.
• If you live in an apartment or condo, your water valve may be centrally located and not in your living space. The amount of available water will depend on your apartment’s location in the building and how many other people are pulling water from the building’s pipes.
Water from the water heater tank is also usable in a disaster (see Activity 17). This refers to the tank that connects to the water that comes out of your faucets and showerheads. *IMPORTANT NOTE: This is different from the tank used to supply hot water to radiators in older homes. In these situations, use the tap water heater tank, not the home heating system tank.
ACTIVITY 17: LEARN HOW TO REMOVE WATER FROM A WATER HEATER TANK
Goal: Water can be removed from a water heater tank if you have safe access to it.
Water heaters typically range in size and can hold 30 to 80 gallons of water for drinking, cooking and hygiene. Removing the water is not difficult but requires great care and is best done by
practicing in advance to be sure you do it safely. Watch this how-to video https://youtu.be/VIpOc3bmZ1E?si=MnerepR49sTyS6jd from the Regional Water Providers Consortium (https://www.regionalh2o.org) based in Portland. This resource also offers downloadable instructions that can be hung from your water heater for quick reference. The following information is excerpted from this source.
STEP 1: GATHER SUPPLIES
Gather this list of supplies to safely remove water from your water heater tank. Have them readily accessible to your water heater during an emergency.
Flashlight
Screwdriver
Towel or rag
Thermal gloves (like an oven mitt)
Safety glasses
Coffee filters
Sanitized container (a large bucket is best)
STEP 2: LOCATE THE WATER HEATER
Water heaters are usually located in a basement or garage in free-standing homes and in closets of apartments and manufactured homes or trailers.
STEP 3: TURN OFF THE WATER SUPPLY TO YOUR PLACE
Emergency water shut-off valves are usually found in the basement, crawl space, garage or outside by the home’s foundation. Use this valve to turn off your water supply. Taking this step, especially after an earthquake, could help to ensure the water remains in your tank and that its quality is not compromised and unsafe to use.
STEP 4: TURN OFF THE WATER HEATERS POWER SOURCE
This step is crucial to ensure your safety.
For electric water heaters: Shut off the water heater’s power by flipping the correct switch on your electrical panel. Take time to correctly identify the right circuit breaker beforehand. If it’s not yet labeled, do that now.
For natural gas water heaters: Locate the on/off switch on the water heater and turn the knob to the pilot setting. Do not turn it completely off.
STEP 5: TURN OFF THE WATER SUPPLY TO THE WATER HEATER
Locate the water shut-off valve on the water heater and turn it clockwise until it stops. This valve is typically located on the top of the water heater.
STEP 7: LOCATE THE DRAIN VALVE AND RELEASE WATER
Locate the drain valve at the bottom of the water heater and release water from the tank, as needed. Place a clean container under the drain valve spigot to capture the water and turn the spigot or screw of your water heater’s drain valve to the left. Be careful: The water may be very hot! Wearing gloves or an oven mitt and safety glasses are recommended. Turn the spigot or screw to the right to stop the flow of water. Repeat this process as often as needed until the tank is empty.
There may be some sediment that escapes with the water when you begin draining. Wait for the water to clear, then change to a new container. Filter the sediment out of the first container with a coffee filter. You will need to treat or filter any water used for drinking, food preparation and hygiene.
STEP 6: LET AIR INTO YOUR WATER HEATER
Open the relief valve, which is located on the side of the tank. You can do this by flipping the handle so that it sticks straight up or out or by turning on hot water spigots in the main living area or upstairs in your home. This will help release water from the water heater.
WATER HEATER MAINTENANCE TIPS
Water heater maintenance plays a critical role in the availability and quality of water contained in your water heater.
Properly brace your heater to the wall so that it is more likely to remain connected to the wall and your water system.
Flush your water heater annually. Doing this can significantly decrease the amount of sediment build up, and may improve the quality of the water in your water heater.
ACTIVITY 18: LEARN HOW TO DISTILL WATER
Goal: Make a simple stovetop still
STEP 1: GATHER A POT, LID AND BOWL
Fill a pot halfway with water. Place a heat-resistant bowl on top of the water. Put the pot’s lid upside down on top of the pot. Putting the lid upside down allows for the water to drip directly into the bowl.
STEP 2: BOIL
Boil the water for 20 minutes. The water that drips from the lid into the bowl is distilled.
STEP 3: SAFELY STORE
Like other clean water, distilled water should be safely stored (see Activity 14).